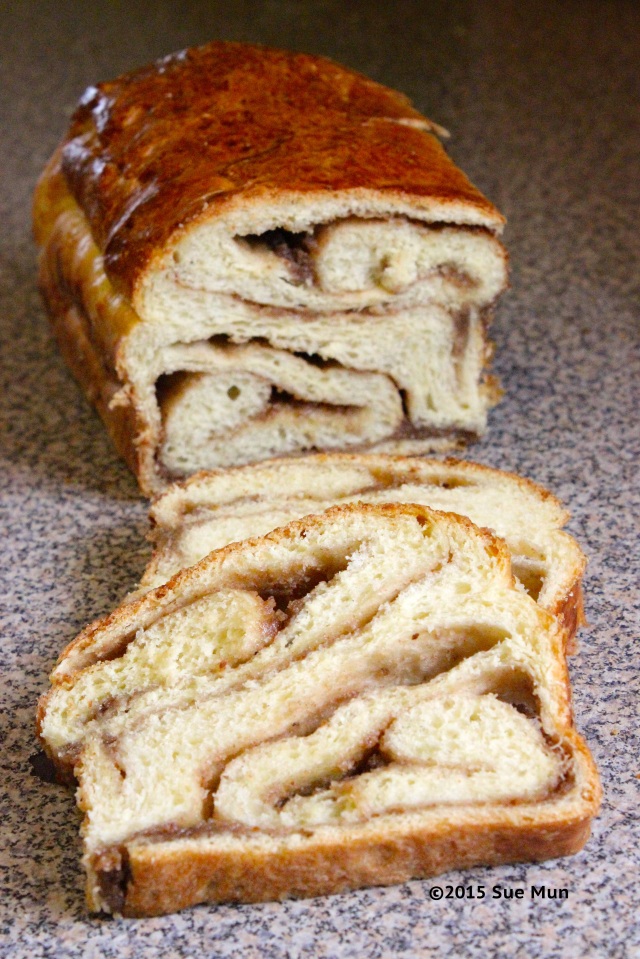
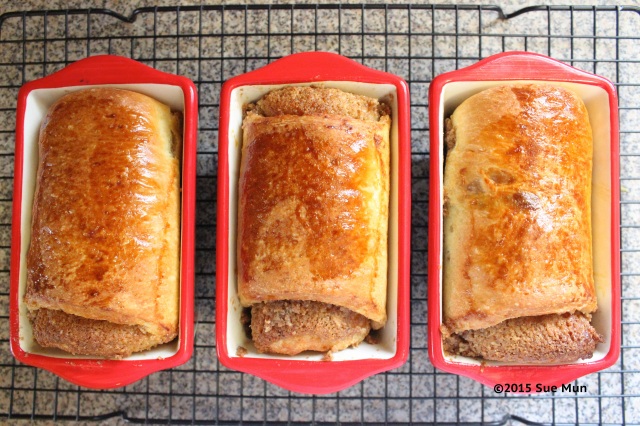
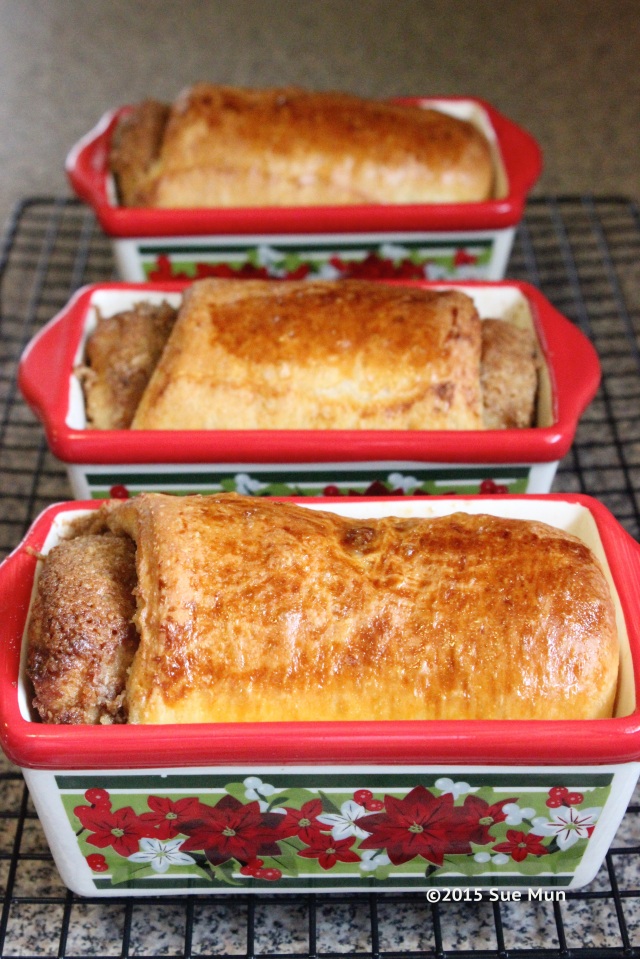
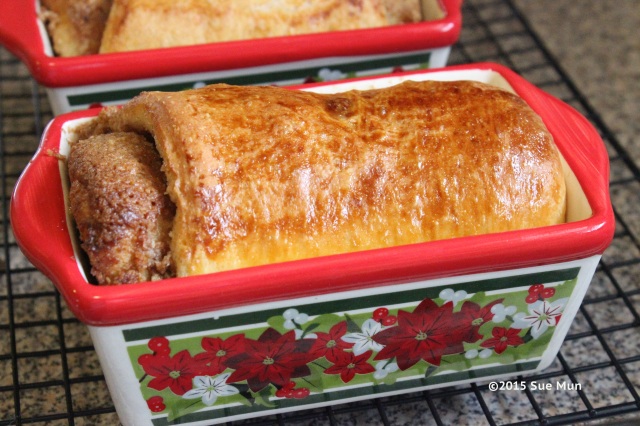
Babka Bread w/ Cinnamon Walnut filling

IMG_1063IMG_1060IMG_1058IMG_1059   IMG_1066

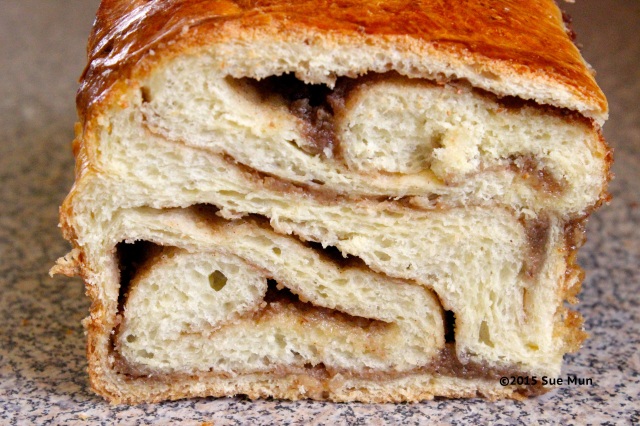
Babka Bread w/ Cinnamon Walnut Filling

  • Servings: Makes 1 9x5 loaf pan
  • Print

Ingredients:

For the dough:

  • 1/2 cup (118 ml) whole milk
  • 1/4 cup (85 grams) honey
  • 1/2 cup (113 grams) unsalted butter
  • 3 cups (360 grams) all-purpose flour
  • 1 teaspoon salt
  • 1/2 teaspoon ground cinnamon
  • 1 envelope (2 1/4 teaspoons, 7 grams) active-dry yeast
  • 2 large eggs

For the filling:

  • 1/2 cup (113 grams) unsalted butter, at room temperature
  • 3/4 cup (160 grams) light or dark brown sugar, packed
  • 2 cups (226 grams) Diamond of California Chopped Walnuts, finely chopped
  • 1 teaspoon ground cinnamon

Directions:

  1. To prepare the dough: Combine the milk, honey and butter in a small saucepan set over medium heat. Warm just until butter is melted. Remove from heat and let cool 5 minutes, or until it is between 120-130 degrees F.
  2. In the bowl of a stand mixer fitted with a dough hook (you can also use a large bowl and mix by hand), combine 2 cups of the flour, the salt, cinnamon and yeast. Add the milk mixture and mix until smooth. Add the eggs one at a time, mixing after each.
  3. Add the remaining flour a few tablespoons at a time, letting it incorporate into the dough before adding more. When all the flour has been added, the dough should be very soft, but still clear the sides of the bowl. If necessary, add a few more tablespoons of flour. Continue to knead the dough for about 5 more minutes until it’s smooth and elastic.
  4. Carefully place the dough in a greased bowl, cover with plastic wrap, and let rise in a warm place until doubled, about 1 hour. Gently punch down the dough to release gases and knead a few more times by hand.

To assemble the stuffed challah:

  1. In the bowl of a stand mixer fitted with a paddle attachment, or in a large bowl with a handheld mixer, combine the butter, brown sugar, walnuts and cinnamon and mix until smooth. Mixture should be crumbly. Set aside.
  2. Meanwhile, line an 8½ by 4½-inch loaf pan with parchment paper, allowing the excess to hang over the edges.
  3. Punch down the dough on a lightly floured work surface. Roll out the dough to a 20 by 14-inch rectangle. Spread filling over the dough, leaving a ½-inch border around the edges. Working from the short side, roll the dough into a cylinder and pinch along the seam to seal.
  4. Position the cylinder seam side up and roll back and forth until stretched to 18 inches long.
  5. Gently twist the double cylinder twice to form a double figure eight. Place the shaped dough seam side down in the prepared pan, cover loosely with plastic wrap and let rise at room temperature until it doubles in size, about 1 hour.
  6. Meanwhile, preheat oven to 350 degrees F. Make an egg wash with 1 large egg and a teaspoon of water and brush on the loaf. Bake until golden, about 35-40 minutes. Let cool 15 minutes before transferring from sheet pan. Bread is best the day it is baked, but will keep in an airtight container for a few days.

Recipe inspired by Bon Appetit

Japanese Dorayaki Cake

IMG_0908

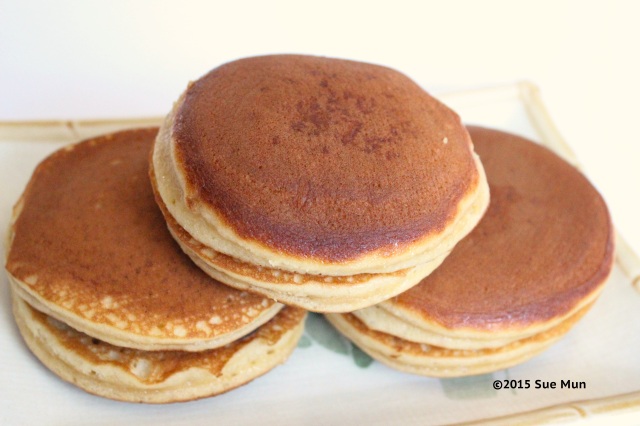
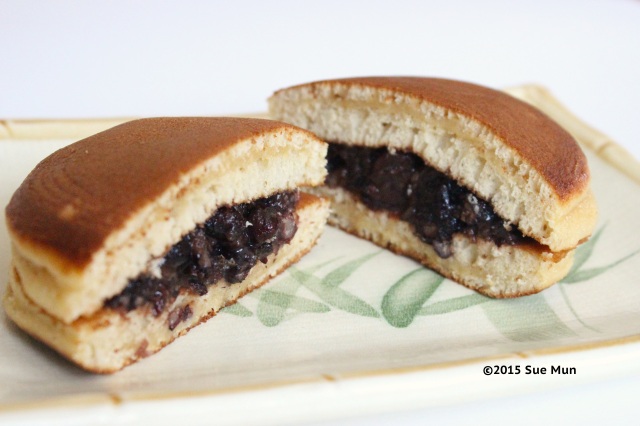
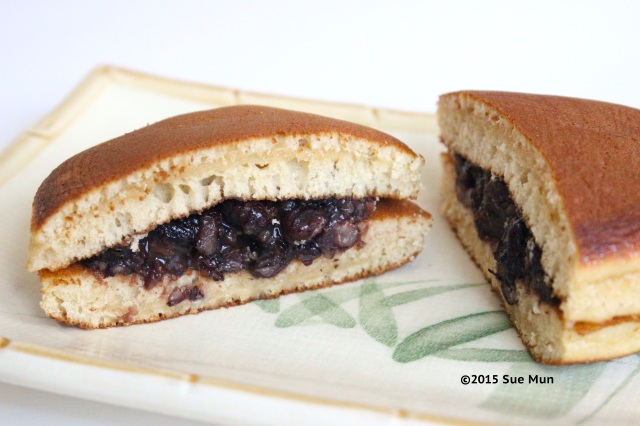
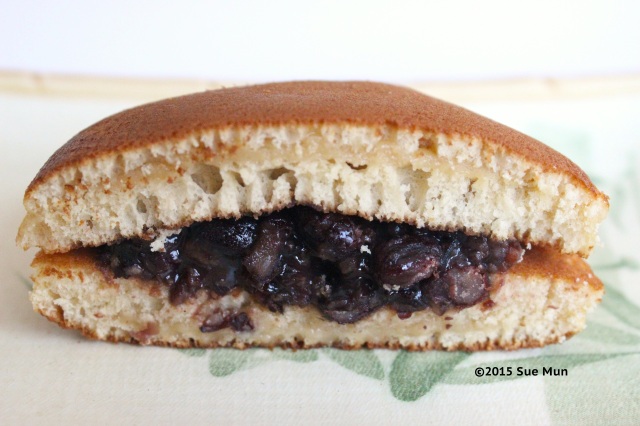
This traditional hot cake is very common in asian culture. The filling inside is asias staple ingredient that they often use in many asian cuisines and desserts. The paste is made out of Azuki (red bean) and sugar, which are both boiled and mashed together (varies in texture). If you want a smoother and creamier texture, the husks of the beans can be removed before adding in the sugar or honey. If not, you can also mash the sweetened red bean and add additional unmashed red bean to add texture.IMG_0911

A fast and easy way to whip up and make a simple sandwich cake in just 30 minutes (because you have to let the batter sit for a while)! Similar to a pancake, however, it is fluffier, sweeter, softer, and thicker than a regular pancake. It is crutial to make sure that you wipe off any excess oil off of the pan before you pour in your batter. Or else you will get lots of spots in your dorayaki cake. IMG_0913
 

Happy Eating~ 🙂IMG_0914

Japanese Dorayaki Cake

  • Servings: about 8 to 9 dorayaki sandwich cakes
  • Print

Ingredients

  • 4 whole eggs (55g eggs)
  • 100g brown sugar
  • 1 tbsp honey
  • 160g cake/pastry flour (any low-gluten flour, but regular all-purpose/plain flour works well too!)
  • 1 tsp baking powder
  • 1/2 tsp baking soda, for softer and fluffier textures (optional)
  • 2-3 tbsp water (adjust according to batter consistency)
  • Cooking oil for greasing, preferably light-coloured and flavourless

Directions:

  1. In a large mixing bowl, add whole eggs, sugar, honey and whisk until the mixture is all bubbly and slightly pale.
  2. Sift flour, baking powder together with baking soda (if using) and carefully mix into the wet ingredient mixture in 2-3 additions. Stir until all the ingredients are just incorporated and there are no flour lumps. Do not overmix the batter to prevent working up the gluten.
  3. Check the consistency of the batter and add water to adjust accordingly. It should be reasonably thick and definitely not runny. Cover mixing bowl with a teatowel or plate and leave to sit for 30 mins or so. This allows any large air bubbles trapped to be released and to relax any gluten worked up from the mixing process.
  4. Heat a flat and non-stick frying pan over medium-low flame and grease the pan very lightly with a light-coloured, flavourless cooking oil. Wipe off any excess oil with a kitchen paper napkin.
  5. Using a chinese soup spoon, drop a spoonful of batter onto the heated pan. Repeat procedure to make more pancakes in one batch but take note not to overcrowd the pan.
  6. Using a flat wooden or silicone heatproof spatula, flip the pancakes carefully when the bottom layer is cooked and could be dislodged easily. Cook the other side until it turns lightly brown and no longer sticky.
    Repeat the process until all the batter is completely used up. Place the cooked pancakes on a plate and cover them with a tea towel (I’d used the dome of my cake stand) to keep them moist.
  7. Match the pancakes according to size and fill one pancake by placing a spoonful dollop of tsubushi’an in the middle of it. Cover with the other pancake and gently press down to work the filling towards the edges.
    Repeat until all the pancakes are used up.
  8. Serve immediately. Can be left covered at room temperature for up to 2 days

Adapted from TravellingFoodies

Peaches n’ Cream Danish Pastry

10356166_911328342229527_8233551110423283779_n


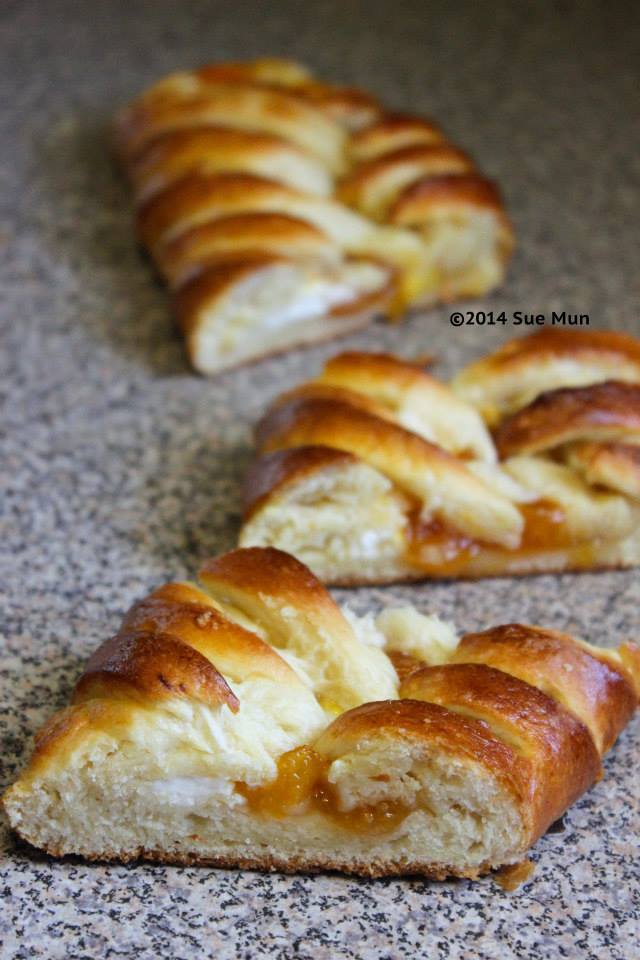
Dessert for breakfast? Yes please. Who would ever turn down that kind of offer? Not me of course haha. This danish bread came out perfectly golden brown and the warm aroma filled my house with the sweet smells of bread. The warm, soft, and delectable bread must be eaten after two days or else the danish will lose it’s soft and chewy texture. You are more than welcome to use any other kind of filling besides peach jam and cream cheese such as nutella, jellies, or something unique like sweet potato or anko (sweet red bean paste)

Peaches n' Cream Danish Pastry

  • Servings: makes two braided danish
  • Print

Ingredients:

For the Dough:

  • 1/4 cup (60ml) warm water, 105F-115F degrees
  • 2 and 1/4 teaspoons active dry yeast (1 standard package)
  • 1/2 cup (120ml) milk, at room temperature*
  • 1 large egg, at room temperature
  • 1/4 cup (50g) granulated sugar
  • 1 teaspoon salt
  • 2 and 1/2 cups (315g) unbleached all-purpose flour
  • 14 Tablespoons (210g) unsalted butter, cold

For the Filling:

  • 1/2 cup Jam of choice (i uded peach jam)
  • 8 oz  full-fat cream cheese, softened to room temperature
  • 1 egg yolk
  • 1/3 cup granulated sugar
  • 1 teaspoon fresh lemon juice
  • 1 teaspoon vanilla extract

For the egg wash:

  • 1 large egg
  • 2 Tablespoons (30ml) milk

Directions:

  1. Whisk the yeast and warm water together in a large bowl. Allow to sit for 3 minutes until foamy. Add milk, egg, granulated sugar, and salt. Once these wet ingredients are mixed together, set the bowl aside and make your butter/flour mixture.
  2. Cut butter into 1/4 inch slices and add to a food processor or blender. Top with flour. Pulse the mixture 10-12 times, until butter is fairly crumbled.
  3. Pour the flour mixture into the wet ingredients. Very gently fold the two mixtures together. Do not be angry with the dough! You want to be very, very, very gentle when you are folding the two together. Fold *just until* the dry ingredients are moistened. The butter must remain in pieces, which creates a flaky pastry. Turn the dough out onto a large piece of plastic wrap. Wrap the dough up tightly and refrigerate for at least 4 hours or overnight.
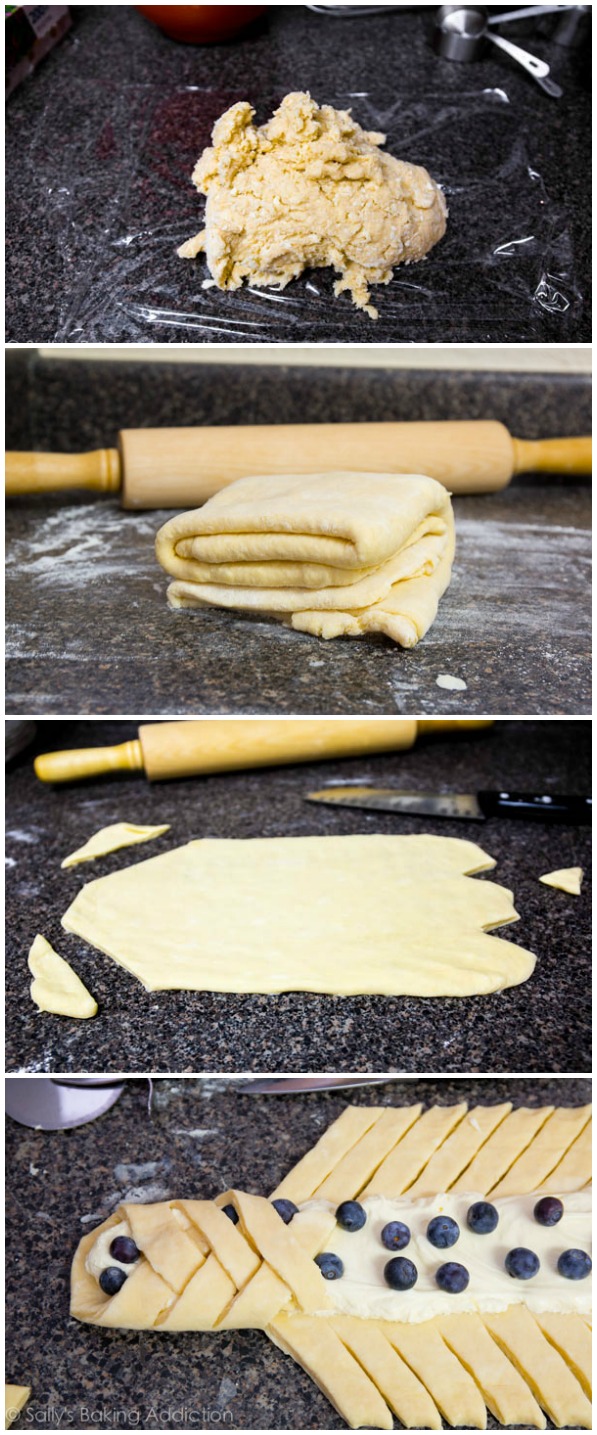
  4. After 4-12 hours, take the dough out of the refrigerator to begin the “rolling and folding” process. Flour a work surface. The dough will be sticky, so make sure you have flour nearby as you roll and fold. Using the palm of your hands, gently flatten the dough into a small square. From there, roll out into a 15 inch long rectangle using your rolling pin. You may have to continue to lightly flour the counter as you are rolling.
  5. Fold the dough together as if it were a business letter. And roll it out into a 15 inch long rectangle again. Then, fold again into a business letter. You’ll repeat rolling and folding 1 more time for a total of 3 times.
    Fold the dough up tightly, wrap in plastic wrap, and chill for at least 30 minutes or up to 1 day.
  6. While the dough is chilling, make your cream cheese filling. In a medium bowl using a handheld or stand mixer fitted with a paddle attachment, beat the cream cheese and egg yolk together on medium speed until smooth. Add the sugar, lemon juice, and vanilla. Beat until smooth.  Set aside.
  7. After at least 30 minutes, take the dough from the refrigerator and cut it in half. Wrap 1 half up and keep chilled as you work with the first half. Roll out your dough to make a 12×6 inch rectangle. I rolled this dough out onto a floured work surface, but I suggest you roll it out onto a lined baking sheet. (Lined with parchment paper or a silicone baking mat.) It is tough to transfer the braided dough from the counter to the baking sheet, unless you are very careful! Refer to the picture below.How-to-Make-Blueberries-Cream-Danish-Pastry-Braid
  8. Cut off two corners of the dough and then two small triangles at the other end. 
  9. Spread 1/2 of the filling (I used both peach jam and cream cheese) down the length of the center of the strip. Cut slanting strips (3/4 inch – 1 inch each) along both sides. I used a very sharp knife, but a pastry wheel or pizza cutter will work just fine. Fold the bottom end up to “seal” the filling in and allow the braid to rest for 15-20 minutes as you preheat your oven. Repeat with the second half of the dough and the rest of the filling.
  10. Preheat oven to 400F. Beat the egg wash ingredients together. Brush the top of the pastry with egg wash. There will be enough egg wash for both braids. The egg wash gives your pastry that beautiful sheen.
    Bake each braid for 15-16 minutes or until golden brown. Make sure to rotate the pan at least two times to ensure the braid is browning evenly.
  11. Allow to cool for at least 10 minutes. Drizzle with glaze, slice, and enjoy!

Additional Notes:

*I tested this dough with 1% and skim milk. Would also work with 2% or whole. Avoid nondairy milk.

Make Ahead: prepare the dough through step 3. The dough at this point can be chilled overnight and up to 3 days. OR prepare the dough through step 5. Fold the dough up tightly, wrap in plastic wrap, and chill in the refrigerator for up to 1 day. During this second chilling time, you could actually keep the dough frozen for up to 1 month. Then thaw overnight in the refrigerator when you are ready to shape in step 6.

Adapted from Sally’s Baking Addiction

Pumpkin French Toast

IMG_0372

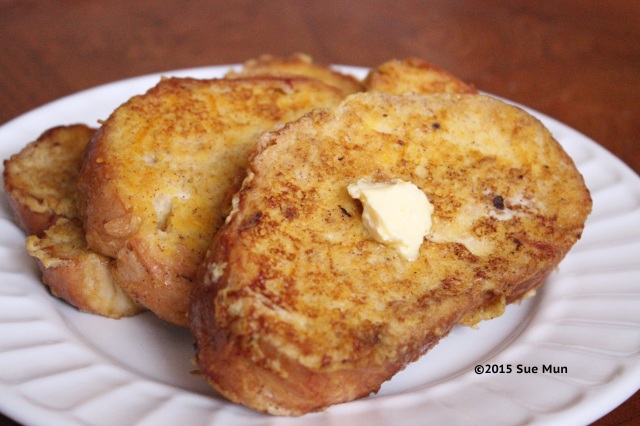
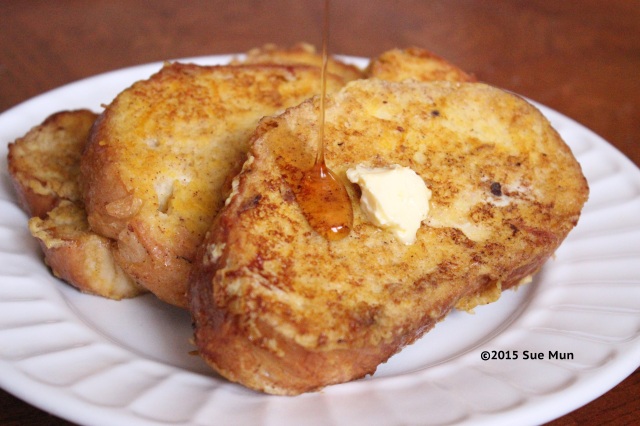
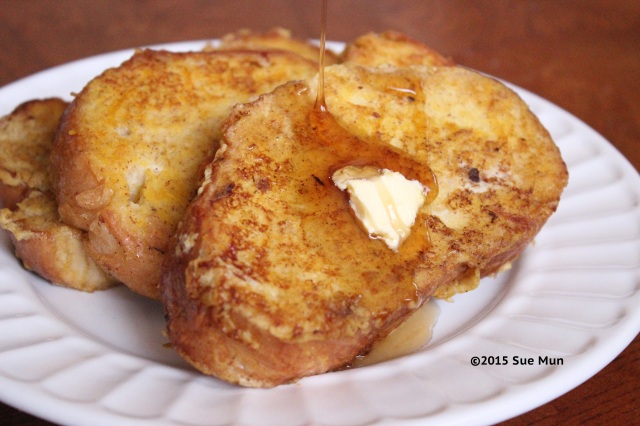
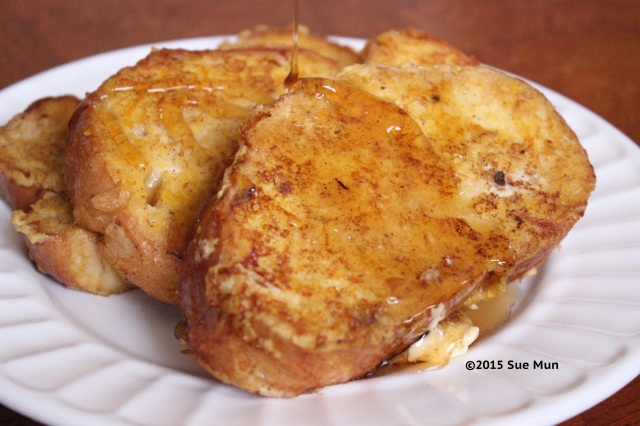
Just look at that golden brown slice of warm bread that is filled with flavorful pumpkin and maple syrup. One word. . . Three letters. . . YUM. Looking for a fulfilling breakfast that will make your day brighter? This recipe is just for you. Super easy to make, and your can easily just whip up all of the ingredients into one bowl and soak in your bread and cook it from there.

IMG_0373

If you really wanted to get a bit more fancy, you are more than welcome to make a baked pumpkin french toast casserole by alternating this same recipe. Simply just preheat the oven to 350. Lay out your bread slices into your casserole however way you like. Then, in a large bowl, whip up the same ingredients from below, and add an additional, 1 cup milk, and 1 cup sugar. Once all of the ingredients are fully incorporated, slowly pour the mixture over you arranged bread slices and allow it to soak up the milk mixture for at least 1 hour, or overnight in the refrigerator. Bake for about 30 minutes and serve with a side of maple syrup. Enjoy~ 🙂IMG_0375 IMG_0376


Pumpkin French Toast

  • Servings: about 8 servings
  • Print

Ingredients

  • 3 large eggs
  • 3/4 cup Silk Unsweetened Vanilla Almond Milk
  • 1/2 cup pumpkin puree
  • 2 tablespoons light brown sugar, packed
  • 1 tablespoon granulated sugar
  • 2 teaspoons vanilla extract
  • 1 teaspoon pumpkin pie spice
  • 1 teaspoon cinnamon
  • 1/2 teaspoon ground nutmeg
  • butter, for griddle or pan and for serving
  • 8 slices Texas toast or thick-sliced French toast bread
  • maple syrup for serving, or your favorite topping

Directions:

  1. Preheat electric griddle (takes about 10 minutes) or preheat a non-stick skillet over medium heat a minute or two before you’ll need it; set aside.
  2. In a large mixing bowl, combine eggs, milk, pumpkin, sugars, vanilla, pumpkin pie spice, cinnamon, nutmeg, and whisk until combined.
  3. Butter the griddle or skillet.
  4. Dip 1 slice of bread into the coating mixture for about 10 seconds, flipping over once, and making sure it’s well-coated before adding to griddle. Repeat with all slices of bread until coating mixture is gone.
  5. Cook for about 3 to 4 minutes per side, or until as done and browned as desired. Add more butter to griddle or skillet as necessary and wipe griddle with paper towel as necessary to remove black bits. Serve immediately with butter and maple syrup or your favorite topping. French toast is best warm and fresh, but will keep airtight in the refrigerator for up to 5 days or in the freezer for up to 6 months and can be gently reheated in the micro or toaster.

Adapted from Averie Cooks

Olive and Herb Foccacia Bread

IMG_0446

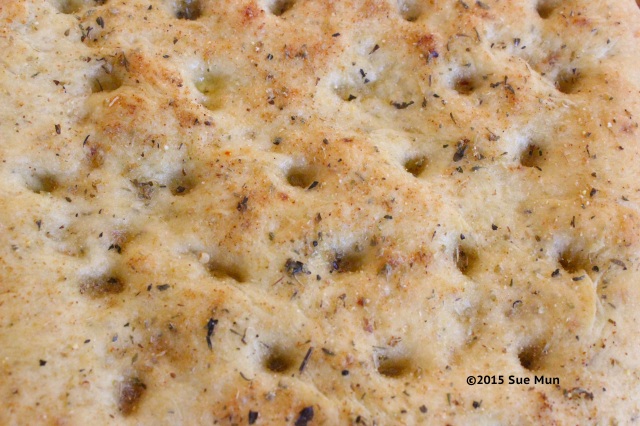
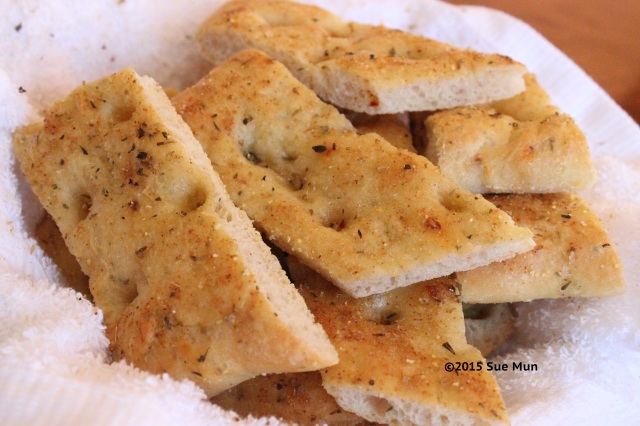
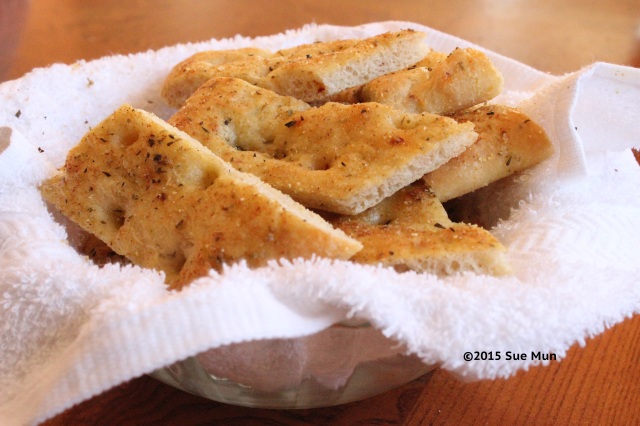
The perfect appetizer before a family dinner. This recipe tastes exactly, if not, better than the bread that you get at your favorite Italian restaurant. I have been craving bread like this ever since . . . well . . . forever! I sprinkled some garlic powder on top of the focaccia bread before I baked it off. Happy Eating~ 🙂IMG_0447 IMG_0453

Olive and Herb Focaccia

  • Servings: Makes 1 large focaccia
  • Print

Dough:

  • 3 cups + 1 tablespoon (430g) all purpose flour
  • 1 tablespoon minced fresh oregano or thyme
  • 2 ¼ teaspoons (7g) dried yeast
  • 2 teaspoons table salt
  • 1 teaspoon superfine sugar
  • 1 ¼ cups (300ml) warm water
  • 1 tablespoon olive oil

Topping:

  • 12-15 black olives, pitted and roughly chopped (optional)
  • 1 ½ tablespoons olive oil
  • 2 teaspoons fresh oregano or thyme leaves
  • 1 teaspoon coarse salt – I used Maldon

Directions:

  1. In a large bowl, combine flour, oregano, yeast, salt and sugar. Stir to combine. Drizzle with the water and the olive oil and stir with a wooden spoon until a shaggy dough forms. Transfer to a lightly floured surface and knead until smooth and no longer sticky, about 10 minutes – resist the urge to add more flour; the dough is really soft so I preferred to use my Kitchen Aid with the dough hook to knead the dough.
  2. Shape the dough into a ball and place into a lightly oiled large bowl. Cover with plastic wrap and let the dough rise in a warm spot until doubled in size, about 45 minutes.
  3. Lightly oil a heavy cookie sheet. Turn the dough onto it and press gently to deflate. Shape into an oval about 2cm thick – the oval will be about 25cm (10in) long. Lightly brush the dough with olive oil and loosely cover the surface directly with plastic wrap. Let the dough rise again in a warm spot until puffed and almost double, about 20 minutes.
  4. Preheat the oven to 220°C/428°F. Remove the plastic wrap from the dough. Lightly coat your middle 3 fingertips with flour and press into the dough down (but not through) the bottom. Repeat this dimpling all over the dough. Scatter the olive pieces over the surface, pressing them into the dimples. Drizzle the dough evenly with 1 tablespoon olive oil and sprinkle with the oregano and the coarse salt.
  5. Bake until the top of the focaccia is golden and browned, 25-30 minutes. Remove from the pan and, using a large metal spatula, transfer the focaccia to a wire rack, drizzle with the remaining ½ tablespoon of olive oil. Serve warm (I found it delicious cold, too).

Adapted from Technicolor Kitchen

Zucchini Walnut Bread

1468778_753748541320842_1083166419_n

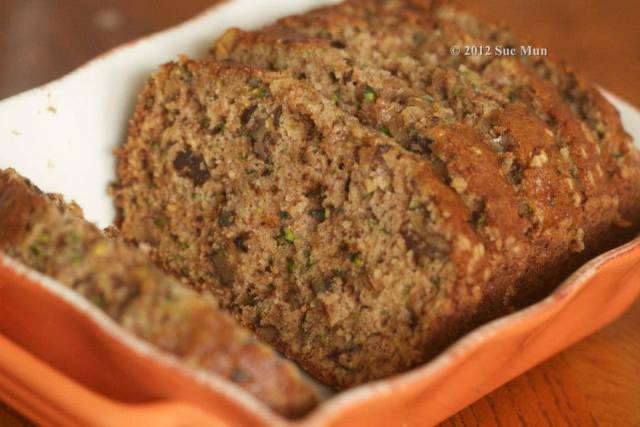
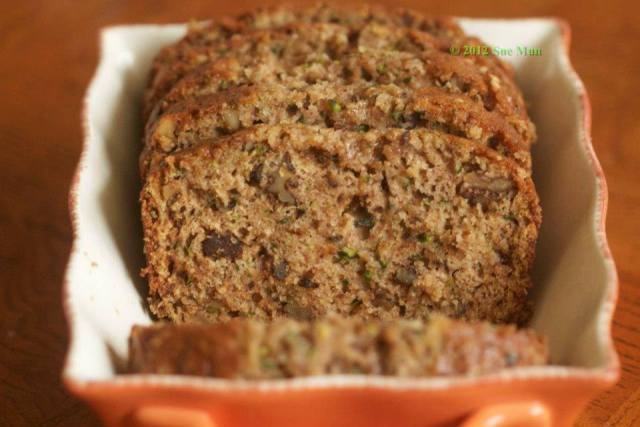
This is one of my favorite quick breads ever! Moist, soft, fluffy, and a bit crunchy from the walnuts, this bread is perfect for Sunday mornings with hot coffee on the side. Breakfast anyone? Get Ready. Happy Eating~ 🙂

1460953_753745811321115_494689587_n


Zucchini Walnut Bread

Ingredients:

  • 3 cups all purpose flour
  • 1 teaspoon salt
  • 1 teaspoon baking soda
  • 1 teaspoon baking powder
  • 3 teaspoons ground cinnamon
  • 3 eggs
  • 1/2 cup vegetable oil
  • 1/2 cup applesauce
  • 1 cup granulated sugar
  • 1 cup brown sugar, packed
  • 2 teaspoons vanilla extract
  • 2 teaspoons orange zest (optional)
  • 3 cups zucchini, grated
  • 1 cup walnuts, chopped (or use pecans or chocolate chips…why not both??)
Directions:
  1. Grease and flour two 9 x 5 inch loaf pans. Preheat oven to 325 degrees F.
  2. In a large bowl, sift together the flour, salt, baking soda, baking powder, and cinnamon together and mix until combined with a whisk.
  3. In another large bow, beat together the eggs, oil, apple sauce, sugars, vanilla, and orange zest until fully incorpated and smooth. Slowly add in the flour into the wet ingredients until combined. Gently stir in the zucchini and nuts with a rubber spatula.
  4. Pour into prepared pans and bake for 40-55 minutes, or until a toothpick inserted in the center of the bread comes out clean. Cool on rack completely before cutting and serving.

Banana Bread Pudding

IMG_0332

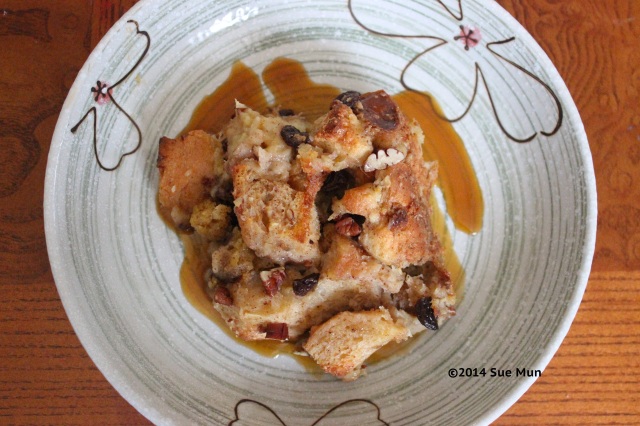
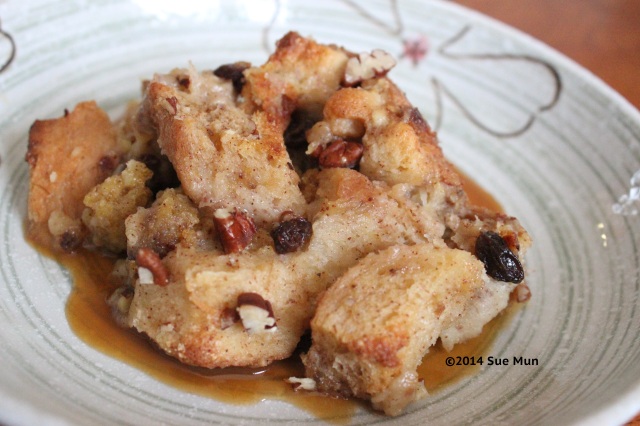
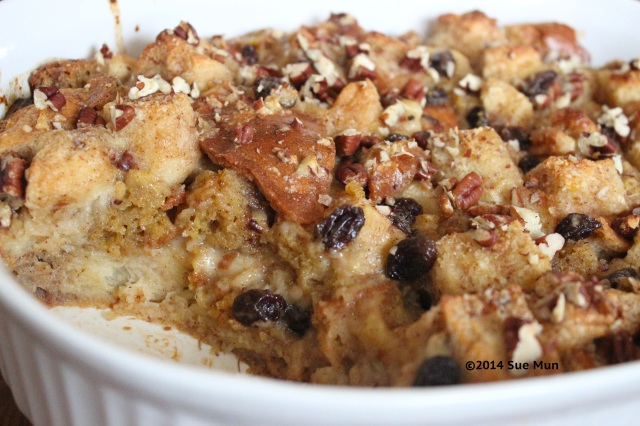
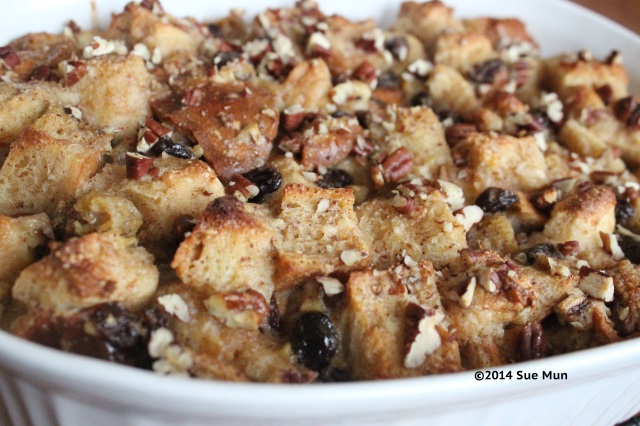
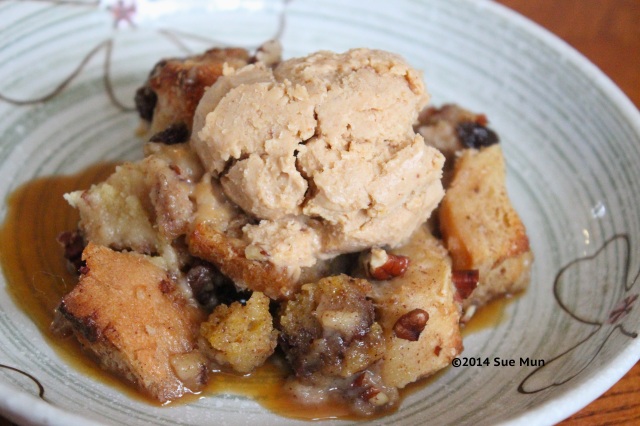
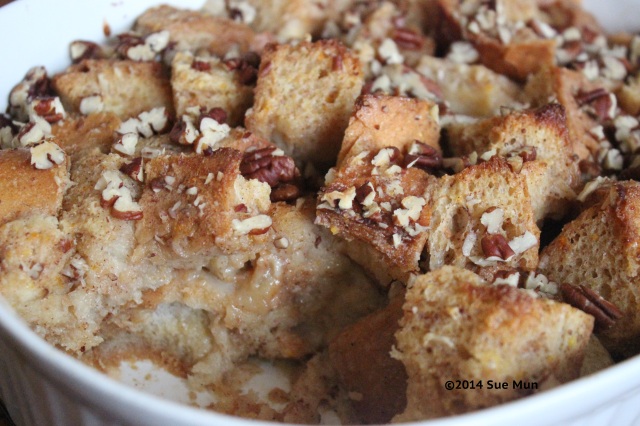
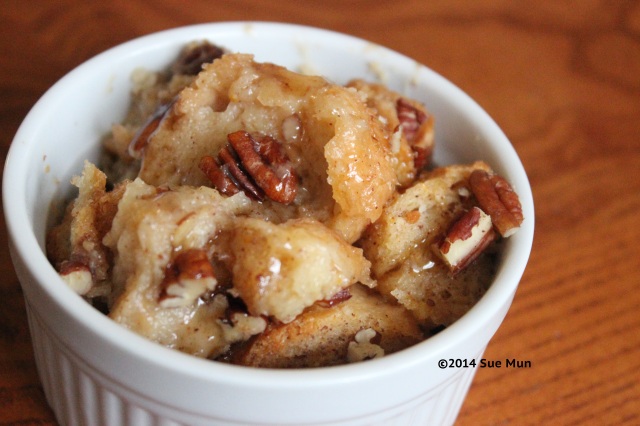
I absolutely love bread pudding. I do not know why . . . maybe because I love bread and carbs haha. Plus, when you are making a regular bread pudding, you can literally add in anything that you prefer such as orange juice, apple juice, zest, different extracts, nuts, dried fruits, etc.! Happy Eating~IMG_0331

HAPPY (late) NEW YEARS!! I know, I know, my picture had “2014” on it. But that is only because I had created this dish the morning of New Years Eve soo . . . yeah. Anyways, what are my New Years Resolution? Well. I put a lot of thought into this and It’d have to be that I learn to accept myself more and stop comparing my happiness with other people’s happiness. Many times, I had trouble being joyful and happy with my life because I seemed to have compared with my own life/lifestyle with my peers. Yes, I may not have the perfect life, but, I learned to accept that. After reflecting upon myself over my winter break, I had finally learned that to be truly happy, you must be able to love yourself and acknowledge the many blessings that life had offered you. To have a humble family, food in my stomach, a roof over my head, and a decent education, I am fortunate to have these things and that I should be thankful instead of not appreciating it.IMG_0335 IMG_0326 IMG_0338

Banana Bread Pudding

  • Servings: 5-6 servings
  • Print

  • 3 eggs
  • 3/4 cup granulated sugar
  • 1/4 cup brown sugar, packed
  • 2 cups milk
  • 2 ripe bananas, mashed
  • 1 tablespoon vanilla extract
  • 1 1/2 teaspoons cinnamon
  • 1/4 cup raisin
  • 1/4 cp pecans, chopped
  • 4-5 cups stale bread, cut into 1 inch cubes
  1. In a large bowl combine the eggs, sugars, milk, mashed bananas, vanilla, and cinnamon until fully incorporated. You can add in the raisins and pecans now, or sprinkle them on top of the bread pudding before you bake it. Add in the stale bread cubes and toss/mix in the batter until everything is evenly distributed. transfer the pudding in your casserole (including the milk mixture) dish and let it sit and soak in the milk mixture for about 30 minutes or overnight in the fridge.
  2. While the bread pudding is soaking in the liquid, go ahead and preheat the oven to 350 degrees. Once your pudding is ready, bake it for 30-40 minutes, or until the top is golden brown. Serve immediately with your favorite syrup, fudge, ice cream, or have it plain! Enjoy!

Made by yours truly, Sue Mun.

Challah Bread

IMG_0359

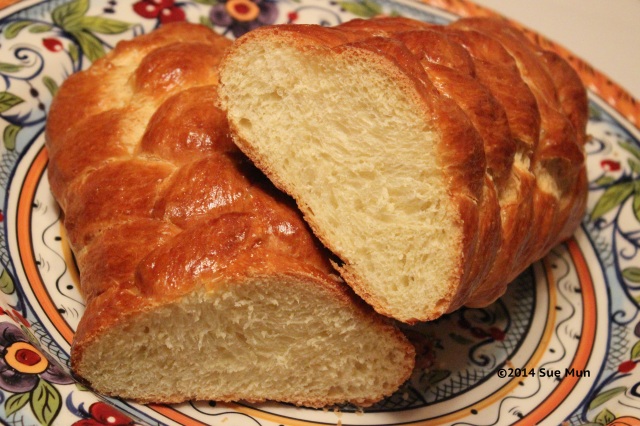
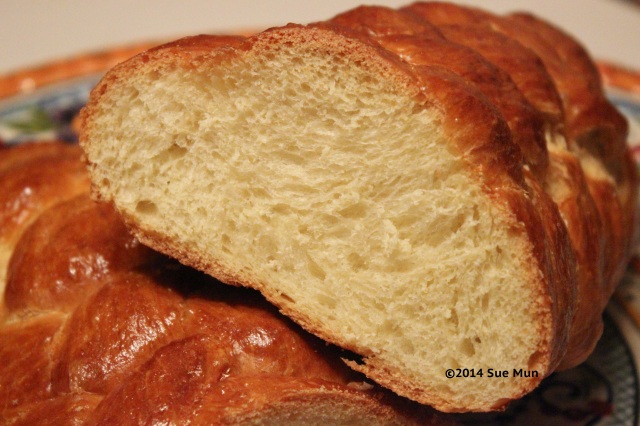
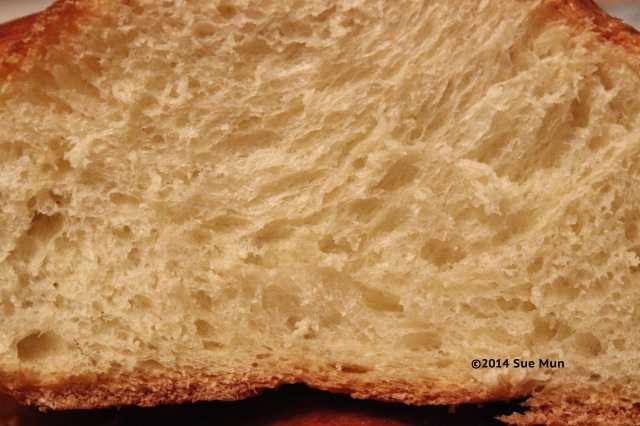
What is yeast? Yeast is a living single-celled organism that when added to the dough, it feeds on glucose (sugar), which allows the dough to release the trapped carbon dioxide, causing it to rise and expand in its shape. The production of alcohol (yeast’s by-product) and acids reacting to proteins, are another factor that causes the dough to expand. The process of mixing the dough with a dough hook, or kneading the dough by hand, creates friction, which allows the dough temperature to rise (beginning of fermentation). Also, during the mixing of the dough, gluten is created which helps the dough obtain structure and strength. After the dough has been mixed and kneaded, it is ready for bench proofing or floor time (also known as fermentation). The mixed dough is removed from the bowl and transferred to another large bowl that has been sprayed with vegetable oil to prevent the dough from sticking. It is then plastic wrapped or covered with a cloth to retain the dough temperature and preventing the dough from being dried. After the dough had been risen to double it’s size, it is ready for creating many different products of your choice.

Believe it or not, just one gram of yeast contains about 20-30 billion yeast cells! Amazing right? IMG_0360

If you are using fresh yeast, also known as cake yeast, you can simply substitute every .6 ounces of dry yeast with 1 ounce of fresh yeast. For example, if a recipe calls for 3 ounces of cake yeast, that is equivalent to 1.8 ounces of dry yeast. How? Well I simply did my math by multiplying .6 x 3, which got me the answer 1.8.

Here is the formula of fermentation:

C6H12O6 → 2C2H5OH + 2CO2 + energyglucose → ethyl alcohol + carbon dioxide + energy

IMG_0362 IMG_0366

Challah Bread

  • Servings: 2 braided loaves
  • Print

  • 1/2 cup plus 2/3 cup warm water (105°F. to 115°F.)
  • 2 tablespoons dry yeast
  • 1 tablespoons plus 3/4 cup sugar
  • 5 large eggs
  • 3/4 cup vegetable oil
  • 1 teaspoon salt
  • 7 1/2 cups (about) all-purpose flour
  • 1 large egg
  1. Combine 1/2 cup warm water, yeast and 1 tablespoon sugar in large glass measuring cup and stir until yeast dissolves. Let yeast mixture stand at room temperature until foamy, about 10 minutes.
  2. In large bowl of heavy-duty mixer fitted with whisk attachment, beat 5 eggs until blended. Add oil, salt and 3/4 cup sugar and beat until pale yellow and slightly thickened, about 4 minutes. Beat in 2/3 cup warm water. Add yeast mixture and beat until blended. Remove whisk and fit mixer with dough hook. Add enough flour 1 cup at a time to form smooth dough, beating well after each addition. Beat on medium speed until smooth and elastic, about 5 minutes, adding flour by tablespoonfuls if sticky. Turn out onto floured surface and knead 2 minutes.
  3. Lightly oil large bowl. Add dough, turning to coat with oil. Cover with plastic wrap, then with clean kitchen towel. Let dough rise in warm draft-free area until doubled in volume, about 1 hour (or about 1 hour and 30 minutes if you are using regular active dry yeast instead of rapid rising dry yeast). Or leave in the refrigerator to prepare for the next day. Make sure to leave it out to room temperature for about 30 minutes before continuing.
  4. Punch down dough. Cover with plastic and clean kitchen towel and let rise 30 minutes.
  5. Grease 2 large baking sheets. Turn out dough onto lightly floured surface. Divide dough into 2 equal portions. Divide each portion into 3 equal pieces. Roll each piece into 9-inch-long rope. Braid 3 ropes together; pinch ends together to seal. Repeat with remaining dough pieces, forming 2 braids. Place each braid on baking sheet. Cover with towel . Let rise in warm area until almost doubled, about 20-30 minutes.
  6. Preheat oven to 400°F. Whisk egg in a small bowl and begin to brush the braided dough with the whisked egg wash. Bake for 10 minutes. Reduce oven temperature to 350°F. Bake until bread is golden brown and sounds hollow when tapped on bottom, about 35 minutes. Make sure that you rotate the pan halfway through the baking process. Transfer loaves to rack and serve warm or cool completely before wrapping. (Can be prepared 1 day ahead. Wrap tightly in plastic and store at room temperature.)

Orange Citrus Bread Pudding

IMG_0319

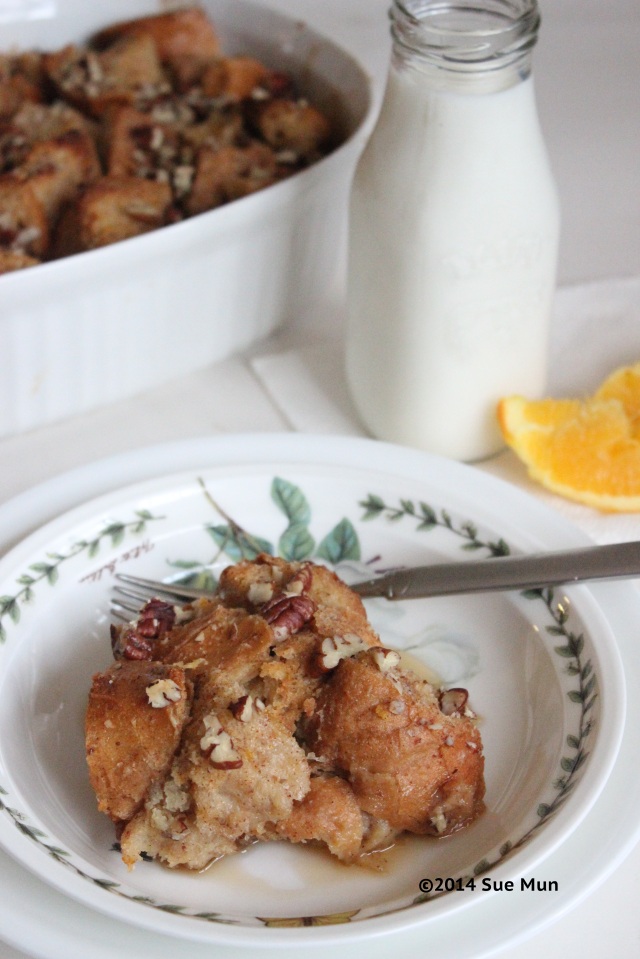
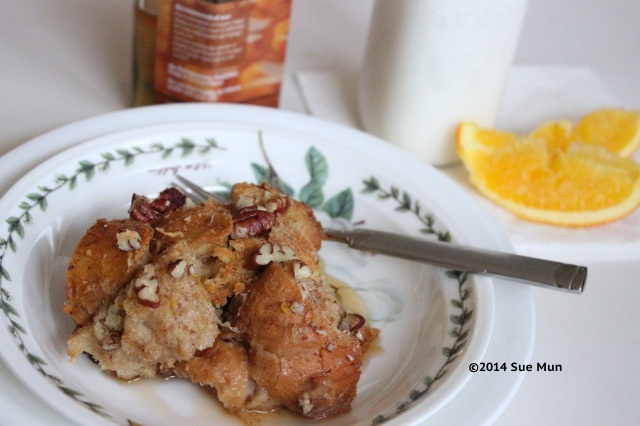
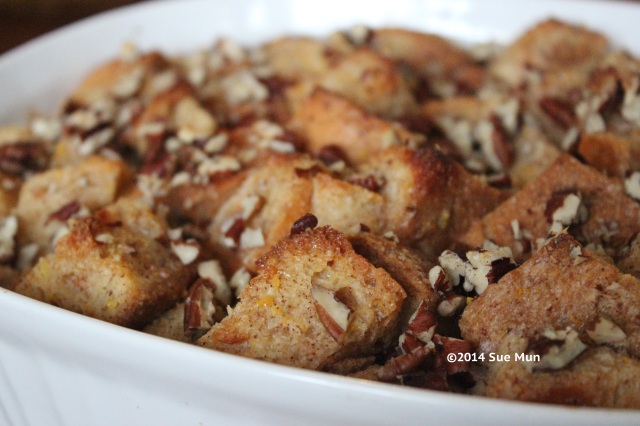
Need a recipe for your leftover panettone bread, cinnamon rolls, or regular from your Christmas party? Use the leftovers to feed a crowd in the morning after with this recipe! If you are in a rush and want to stale bread quickly, you can simply just cube your bread and leave it to rest of a cooling rack over night to air dry. Then, after drying, the bread will be hard and stale, which is perfect for a sturdy bread pudding. No one wants a soggy and crumbling bread pudding . . . yuck. Happy Holidays~ 😀IMG_0318

After trying to find the perfect bread pudding that doesn’t end up all soggy and yucky, I just gave up and started to whip up my own. Surprisingly, it came out terrific! I couldn’t help it but I ended up have almost three servings because it was sooo good! Drizzle it with your favorite syrup, caramel sauce, or ice cream.

IMG_0308

Counted my blessings this morning and I am very thankful that I was born in a humble family that loves and and supports my decisions. Without them, I know that I would not have done anything without their help. How many blessings do you have? Have you said ‘thank you’ to your friends and family yet? Make sure you do once in a while to remind them that you appreciate them in your life. IMG_0311 IMG_0316

Orange Citrus Bread Pudding

  • Servings: 6-8 servings
  • Print

Ingredients:

  • 3 eggs
  • 1 1/2 cups granulated sugar
  • 1/2 cup brown sugar, packed
  • 2 1/4 cups whole milk
  • zest of one orange
  • 1/4-1/2 cup fresh squeezed orange juice
  • 2 tablespoons vanilla extract
  • 2 teaspoons ground cinnamon
  • 7-8 cups 1 inch cubed bread, staled overnight
  • 1/2 cup pecans, chopped (optional)
  1. Preheat oven to 325 degrees and have your casserole dish ready to go.
  2. In a large bowl, whisk together the eggs, sugar, and brown sugar until sugar is dissolved. Gradually add in the milk until fully incorporated. Add in the orange zest, orange juice, vanilla, and cinnamon until combined. Pour over the cubed stale bread and evenly toss the mixture.
  3. Place the prepared bread mixture to your casserole dish and let the bread sit for at least 30 minutes before baking. Once set, sprinkle pecans and bake the bread pudding for 45 minutes or until the top is golden brown. Serve warm with maple syrup and milk.

Peanut Butter Pecan Banana Bread

2547_753745694654460_910455275_n

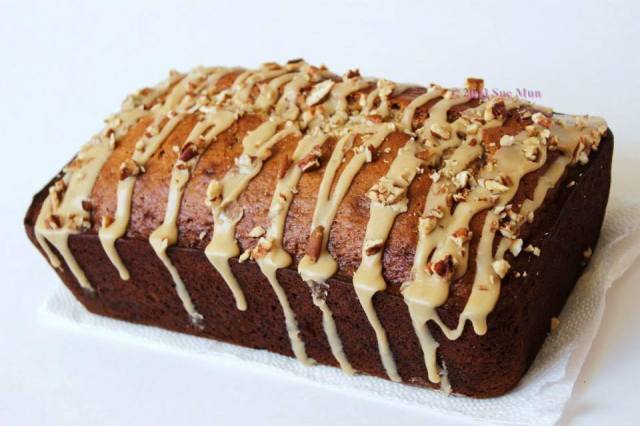
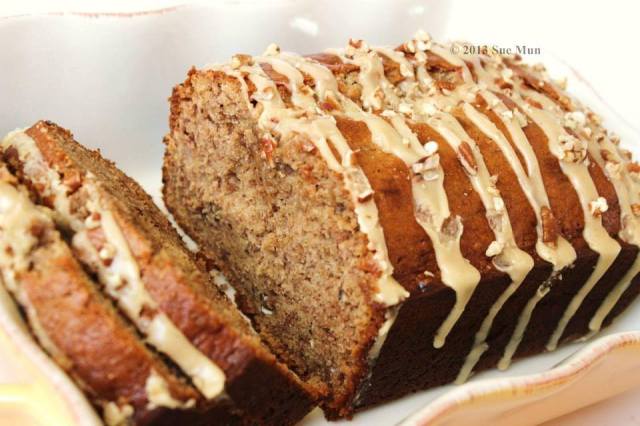
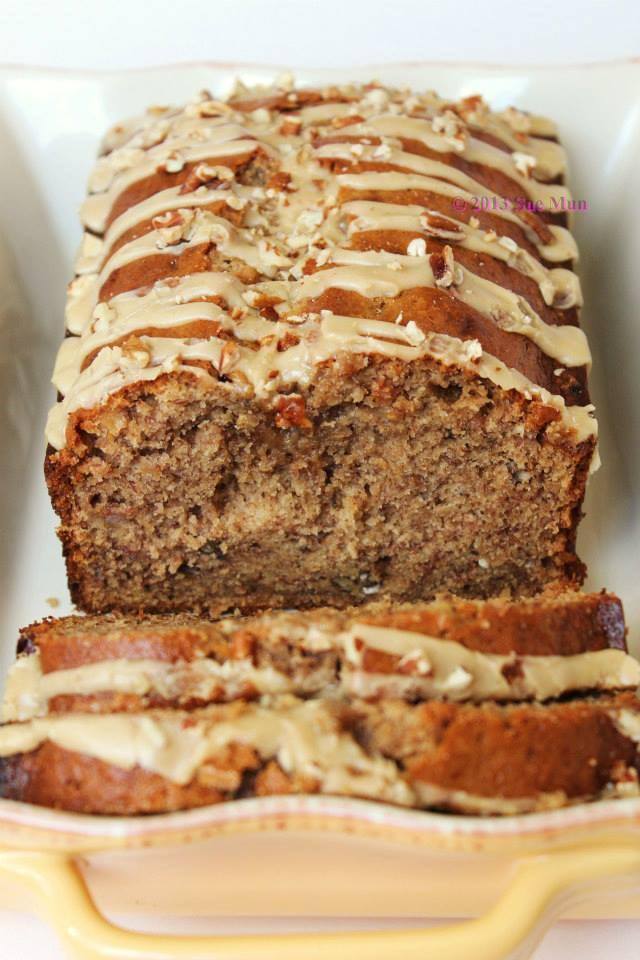
Have you ever seen a simply banana read look THIS delicious?? Just wow. The combination of peanut butter and banana is one of my favorites! It’s unfortunate to know that some people are allergic to peanuts . . . it is just so upsetting to think about. Peanut butter is my love. Aside from cinnamon. Lol. Anyways. This moist and flavorful banana bread is perfect for breakfast or a light snack during the day. Serve with a cup of coffee or milk and you are ready to go! Happy Eating~ 🙂1525566_753774751318221_1640669103_n

Make sure you have VERY ripe bananas to ensure bold flavors of banana in your recipe. If you are in a rush and do not have ripe bananas, just put your regular yellow bananas on a baking sheet and bake for 30-40 minutes on 300 degrees Fahrenheit in the oven. Take it out of the oven and let it cool for 30 minutes so the sugars are able to come out, causing the banana to nicely brown.1460217_753774894651540_672348447_n

As you read the recipe below, you will notice a strange ingredient that makes you wonder, “What the heck is that?” Well. Let’s see. What exactly IS ground flaxseed? Flaxseed meal is simply just ground up whole flaxseeds (also called linseed), which provides more nutrients since it is easier to digest. The seeds are from the flax plant that are used to make the linen of our clothes. This antioxidant-rich seed is very high in lignens (chemical compound with antioxidant qualities), omega-3 (the “good fats” that our body can not produce on its own), fiber, vitamin B1, good carbohydrates, and phytochemicals. There are many benefits to eating flaxmeal such as lowering cholesterol, improve blood sugar, prevent against cancer, prevent hot flashes, and flushing out the bad chemicals in the body. How can you add this to your diet? You can simply replace 1 egg with 1 tablespoon of flaxmeal+3 tablespoons of water to a recipe such as pancakes, muffins, cookies, breads, bars, casseroles, pizza crusts, dinner rolls…you name it! Just be reminded that flaxmeal can add a little of a nutty flavor whenever you add it to a recipe.

Peanut Butter Pecan Banana Bread

  • Servings: one 9x5 inch loaf pan
  • Print

For the Bread:

  • 1 1/2 cups mashed ripe banana
  • 1/3 cup plain fat-free yogurt
  • 1/3 cup creamy peanut butter
  • 3 tablespoons unsalted butter, melted
  • 2 large eggs
  • 1/2 cup granulated sugar
  • 1/2 cup packed brown sugar
  • 6.75 ounces all-purpose flour (about 1 1/2 cups)
  • 1/4 cup ground flaxseed
  • 3/4 teaspoon baking soda
  • 1/2 teaspoon salt
  • 1/2 teaspoon ground cinnamon
  • 1/8 teaspoon ground allspice
  • 1/4 cup pecan, chopped

For the Peanut Butter Glaze:

  • 1/3 cup powdered sugar
  • 1 tablespoon 1% low-fat milk
  • 1 tablespoon creamy peanut butter
  • 3 tablespoons toasted pecan, roughly chopped
  1. Preheat oven to 350° F. Grease bottom and sides of a 9 x 5-inch loaf pan; dust with flour, tapping out excess.
  2. In the bowl of a stand mixer fitted with the paddle attachment, beat together the bananas, yogurt, peanut butter, butter and eggs at medium speed until combined. Add sugars and beat until blended.
  3. In a small bowl, whisk together flour, flaxseed, baking soda, salt, cinnamon and allspice. Add flour mixture to banana mixture; beat just until blended. Stir in pecans. Scrape batter into prepared loaf pan and smooth surface with a rubber spatula.
  4. Bake until top is golden and toothpick inserted into center comes out clean, about 1 hour 5 minutes. Cool in pan 10 minutes, then transfer to wire rack and cool completely.
  5. To make the peanut butter glaze, in a small bowl whisk together powdered sugar, milk and peanut butter until smooth. Drizzle glaze over bread and sprinkle toasted pecans.

Adapted from Sweet Pea’s Kitchen